LAPTIME SIMULATION SOFTWARE
Adding extra compression while cornering
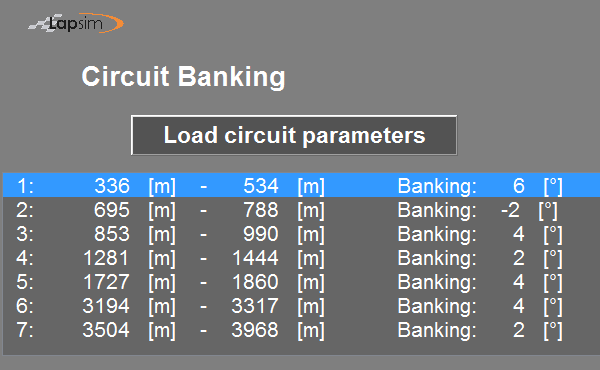
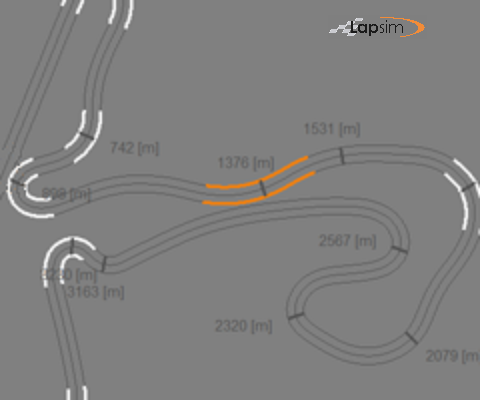
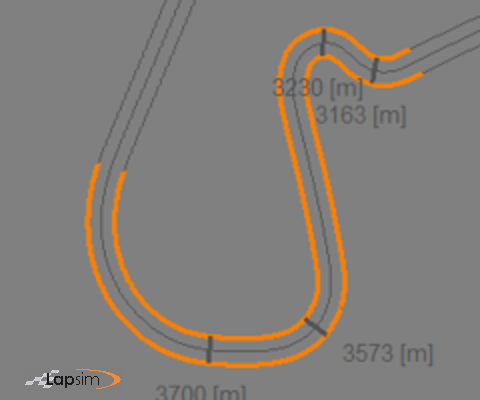
In the banking menu, one can add banking to specific areas of the track.
Due to the banking, the lateral acceleration of the vehicle will lead to addition vertical load on the tires.
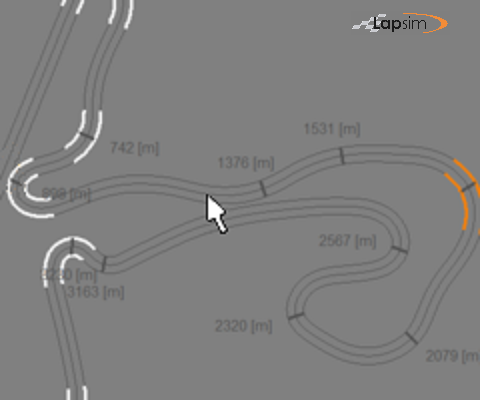
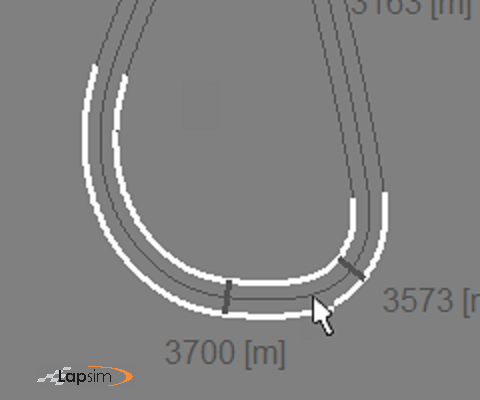
Helpful for selecting an area
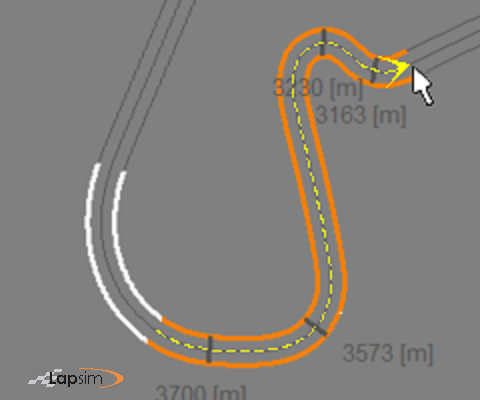
Within the listbox, one can select an area in order to edit it. An area can also be selected by clicking in the figure on the respective area.
In the listbox, one sees an overview of all the banking areas, starting and end point as well as the amount of banking.
Manually change the parameters of an area
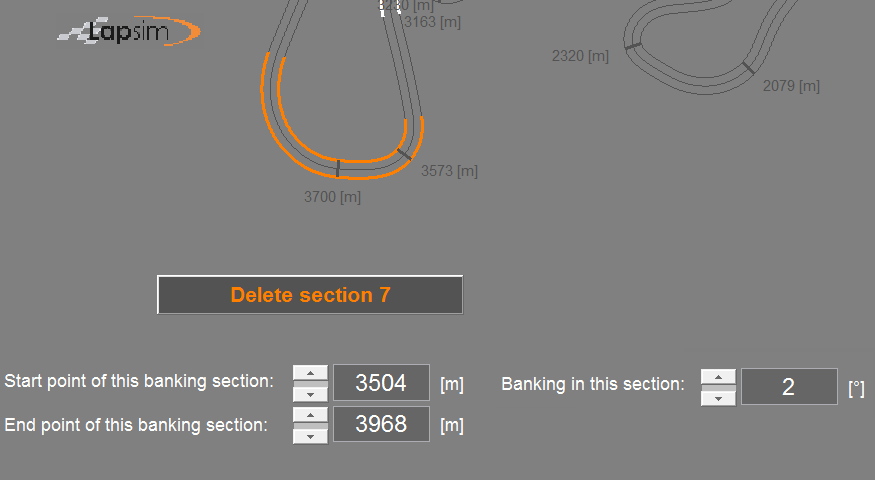
Once an area is selected, the edit boxes show the details of the area, which can be adjusted.
Furthermore the button above the edit boxes enables you to delete this area.
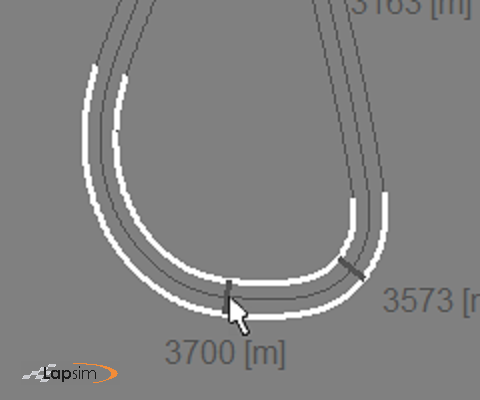
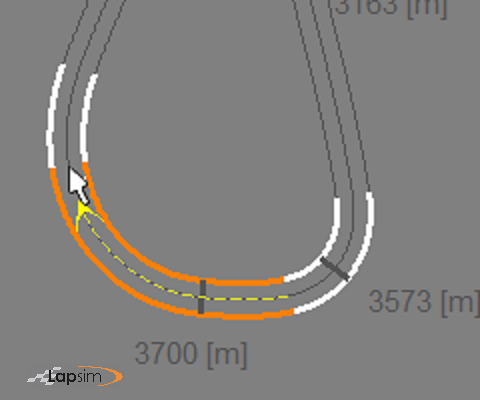
Drag and drop in the figure by the left mouse button
In order to add a new area in the graph, just do a left mouse click on the starting point on the circuit graph.
This will be the starting point of the newly created area.
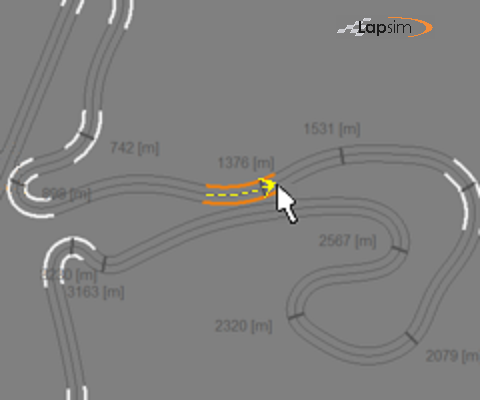
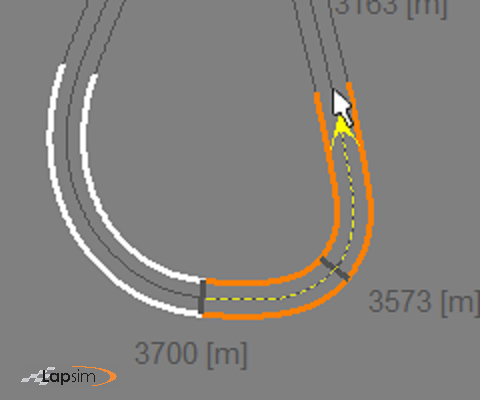
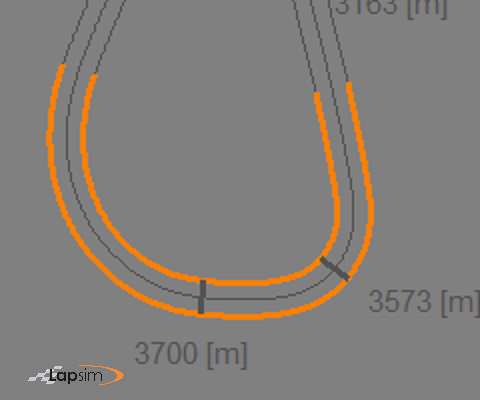
Subsequently move the mouse with the left button engaged, to create an area, with the endpoint one wants to have.
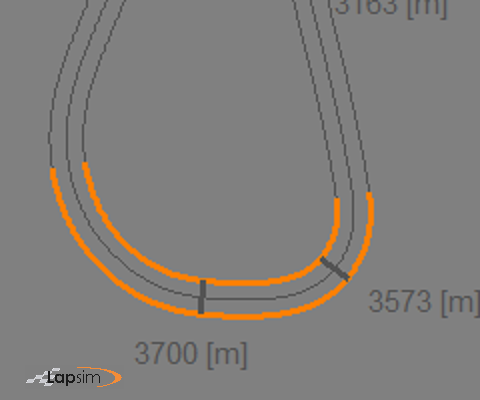
Releasing the button will update the list of banking areas with this new created the area.
In the edit boxes you see the details of the area you have created, which can be used to fine-tune this area and edit the right banking value.
Drag and drop towards start of the area
In order to change the start point of an area in the graph, it is important to move towards or past the starting point.
So one clicks with the left mouse button in the area and keep the left mouse button engaged, moving in the direction of the starting point.
Subsequently, by moving the mouse, one creates the 'adjusted' area with the start point one wants to have.
In this example, we enlarge the total area.
Releasing the button will create the adjusted area.
The edit boxes are immediately updated, so you can use them to fine-tune.
Drag and drop towards the end of the area
In a similar manner one changes the end point of an area in the graph.
To do so one should move towards or past the end point, after one clicks with the left mouse button in the area and keep the left mouse button engaged.
Subsequently, by moving the mouse, one creates the 'new' area with the endpoint one wants to have.
In this example, we shorten the total area.
Releasing the button will create the adjusted area.
The edit boxes are immediately updated, so you can use them to fine-tune.
Drag and drop past the next area
If you enlarge an area beyond or close to the end point of another area, they will be combined.
In the example we start in the last area.
Pull the mouse beyond the previous area....
...and release it.
LapSim combines the two areas to one.
Graphical overview of the banking
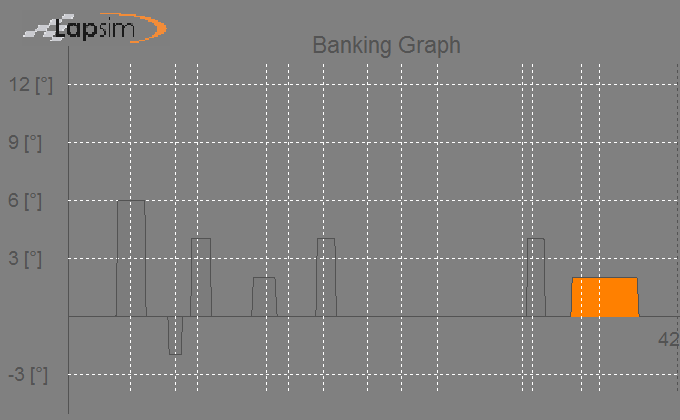
Finally, there is a banking graph, showing you the resulting banking line which is used in the simulation run.
The start and end of each area is slightly filtered in order to give smooth transitions.